How to Mint Your Own NFT
 by
by 
How to Mint Your Own NFT: A Step-by-Step Guide
What is an NFT?
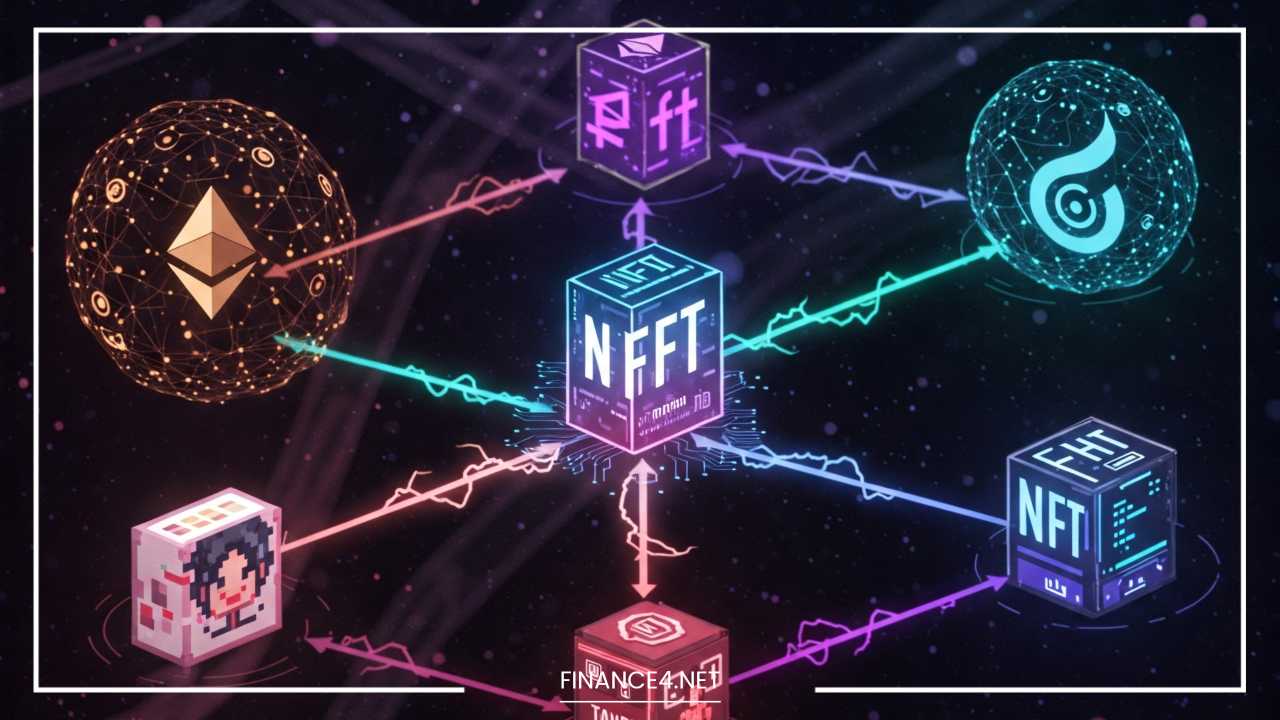
A Non-Fungible Token, commonly known as an NFT, is a unique digital asset verified using blockchain technology. Unlike interchangeable cryptocurrencies such as Bitcoin or Ethereum, where every unit possesses equal value and can be swapped one-for-one, an NFT possesses distinct metadata and identification codes that distinguish it from any other token in existence. This fundamental property of uniqueness, known as non-fungibility, enables creators to establish verifiable scarcity and provenance for digital items.
The concept of digital ownership began gaining traction in the mid-2010s with early experimental projects like Colored Coins on the Bitcoin network and early algorithmic collectibles like CryptoPunks and CryptoKitties on the Ethereum network. These early experiments demonstrated that digital files—which historically could be copied infinitely without any loss of quality—could be tied to immutable ledger entries. As a result, creators found a way to attach real-world concepts of scarcity, authenticity, and ownership to intangible digital items. The rapid growth of decentralized finance and broader blockchain infrastructure provided the necessary environment for NFTs to explode into mainstream global culture, transforming how artists, musicians, writers, and brands interact with their audiences.
Why Mint Your Own NFT?
Minting your own NFT opens up unprecedented avenues for creative expression and true digital ownership. Historically, digital creators faced immense challenges when trying to monetize their work online. Digital files could be effortlessly right-clicked, saved, and distributed across the internet without attribution or financial compensation reaching the original artist. By minting an asset onto a public blockchain, a creator attaches an immutable certificate of authenticity directly to the file. This ensures that no matter how many times the digital preview is viewed or shared online, the master copy retains a clear, public, and tamper-proof record of ownership.
Beyond establishing provenance, minting NFTs grants creators direct market access to a global audience without relying on traditional intermediaries like art galleries, record labels, or publishing houses. It also introduces dynamic economic mechanics, such as automated royalty structures. Creators can program their tokens to deliver a percentage of all future secondary market sales back to their personal digital wallets in perpetuity. Whether you are an established artist seeking to expand your medium or a hobbyist exploring new technologies, minting NFTs offers a powerful framework for securing intellectual property, building an engaged community, and tapping into novel digital monetization avenues.
Section 1: Understanding the Basics of NFTs
Types of NFTs
The versatile nature of blockchain technology means that almost any piece of digital data can be tokenized into an NFT. While visual art remains the most recognized category, the potential applications reach across numerous creative and functional domains:
-
Digital Art: Static images, digital paintings, 3D models, animated GIFs, and generative art pieces created through code.
-
Music and Audio: Single tracks, full albums, stems, generative soundscapes, and concert access passes bundled with audio files.
-
Virtual Real Estate: Land parcels within immersive metaverse platforms that grant users space to build digital experiences, host events, or display virtual billboard advertisements.
-
Gaming Items: In-game assets such as character skins, weapons, virtual pets, playable cards, and structural materials that players genuinely own and can trade across secondary markets.
-
Collectibles and Avatars: Profile Picture projects, digital trading cards, and generative collections featuring varied trait rarities.
-
Domain Names: Decentralized domain addresses that simplify complex blockchain wallet strings into human-readable text while acting as web access points.
-
Utility and Membership Tokens: Digital passes that unlock access to exclusive physical events, private online communities, software subscriptions, or future product drops.
Blockchain Technology and Standards
At its core, a blockchain is a distributed, decentralized ledger that records transactions across a peer-to-peer network of computer nodes. When an NFT is created, a smart contract—a self-executing program stored on the blockchain—publishes the token’s metadata, ownership records, and specific functionality. This architecture ensures that once an asset is minted, the underlying data cannot be arbitrarily altered, forged, or deleted by any single entity.
To maintain interoperability across wallets, marketplaces, and decentralized applications, developers follow standardized framework guidelines when coding smart contracts:
| Token Standard | Primary Blockchain | Core Purpose and Characteristics |
| ERC-721 | Ethereum / EVM | The foundational standard for non-fungible tokens. Each token within an ERC-721 contract is completely unique, with individual ownership tracking and distinct metadata mapping. |
| ERC-1155 | Ethereum / EVM | A multi-token standard that supports both fungible and non-fungible tokens inside a single smart contract. Enables batch transfers and significantly lowers gas consumption during mass minting operations. |
| SPL (Solana Program Library) | Solana | The native token standard for the Solana ecosystem, optimizing speed and micro-transaction efficiency for high-volume digital items and gaming assets. |
| FA2 | Tezos | A unified token standard that supports single, multi, and fungible asset types with strict energy-efficient execution profiles. |
Section 2: Preparing to Mint an NFT
Deciding on Your NFT Concept
Before diving into technical deployment, you must clearly define your creative concept and produce the digital file you plan to tokenize. Successful NFTs balance visual or functional appeal with well-structured technical execution.
-
Ideation: Decide whether your asset will stand alone as a single edition (a 1-of-1) or form part of a broader, limited collection containing variations based on rarity traits.
-
Asset Creation: Use professional creative software suited to your chosen medium. For graphic arts, applications like Adobe Photoshop, Illustrator, Blender, or Procreate are popular choices. For music and audio, Digital Audio Workstations like Ableton Live, Logic Pro, or FL Studio are standard.
-
Format Optimization: Save your finalized master file in a high-resolution format supported by major marketplaces, such as PNG, JPEG, SVG, MP4, MOV, MP3, or WAV.
-
File Preparation: Keep file sizes reasonable (ideally under 100MB for direct marketplace uploads) to ensure smooth loading times for prospective buyers while preserving high sensory quality.
Choosing the Right Blockchain
Selecting where to host your smart contract impacts your initial setup costs, transaction speed, environmental footprint, and target audience reach. Different networks offer distinct advantages depending on your project’s goals.
-
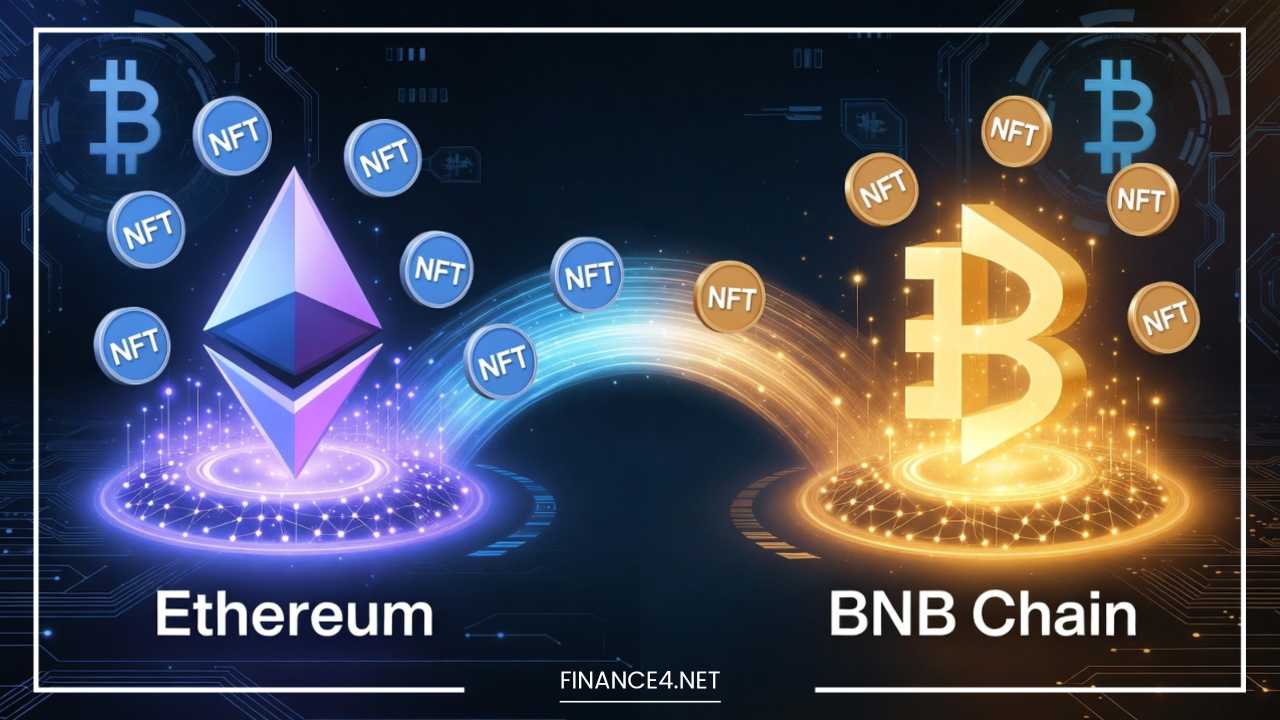
Ethereum: The pioneer and most widely adopted network for NFTs. It boasts the highest historical transaction volume, liquidity, and brand prestige, along with robust security. However, high network traffic can lead to expensive gas fees during busy periods.
-
Solana: Built for extreme performance, Solana processes thousands of transactions per second with near-instant finality and sub-cent fees. It has a massive community of creators, traders, and gaming applications, making it ideal for micro-priced assets or large collectible drops.
-
Polygon: A Layer-2 scaling solution designed to run alongside Ethereum. It provides full compatibility with Ethereum smart contracts while offering fast, ultra-low-cost transactions, making it popular for cost-sensitive creators and enterprise brand loyalty programs.
-
Tezos: A proof-of-stake network known for its energy efficiency, low fees, and strong vibrant community centered on digital fine art and indie creative expression.
Setting Up a Digital Wallet
A digital wallet is essential for interacting with decentralized platforms. It securely stores your cryptographic private keys, holds your cryptocurrency balances, signs smart contract transactions, and acts as your master identity across Web3 applications.
Step-by-Step Wallet Creation Guide:
-
Select a Wallet Application: Choose a reputable wallet compatible with your chosen blockchain. Popular choices include MetaMask or Coinbase Wallet for Ethereum and EVM networks, and Phantom for Solana.
-
Download the Official Extension or App: Install the wallet application directly from the provider’s official website or official mobile app store. Avoid third-party mirror links.
-
Create a New Wallet: Launch the application, select the option to set up a brand-new wallet, and set a strong local password or biometric lock for daily device access.
-
Backup Your Seed Phrase: The app will display a secret recovery phrase (usually 12 to 24 words). Write these words down by hand on physical paper in exact sequential order. Store this sheet in a secure, fireproof location.
Essential Security Rules:
-
Never share your seed phrase with anyone under any circumstances. No marketplace support team, platform representative, or developer will ever ask for it.
-
Store recovery phrases offline. Avoid saving seed phrases in plain text files, cloud storage accounts, email drafts, or device screenshots.
-
Beware of phishing links. Always double-check domain URLs before connecting your wallet to any online interface or signing signature requests.
Section 3: Funding Your Wallet
Buying Cryptocurrency
Minting an NFT and listing it for sale requires processing transactions on the underlying blockchain, which incurs network validation fees. To pay these fees, you must fund your digital wallet with the network’s native cryptocurrency (such as Ether for Ethereum, SOL for Solana, or MATIC/POL for Polygon).
Cryptocurrency can be purchased using fiat currency through established, regulated cryptocurrency exchanges such as Coinbase, Kraken, Binance, or Gemini.
-
Create and verify an account on your preferred exchange platform by completing the standard Identity Verification (KYC) requirements.
-
Link a preferred payment mechanism, such as a direct bank transfer, wire transfer, or debit card.
-
Place an order to purchase the necessary native asset required by your target blockchain network.
-
Account for minor price fluctuations by purchasing slightly more cryptocurrency than your initial estimated minting and listing fees.
Transferring Funds to Your Wallet
Once your cryptocurrency purchase settles on the central exchange, you must transfer those digital assets into your self-custodial software wallet so you can directly interact with decentralized marketplaces.
| Transfer Stage | Action Required | Key Security Checks |
| Source Platform | Log into your exchange account and select the withdraw option for your purchased cryptocurrency. | Verify that the network selected on the exchange matches your destination wallet network exactly. |
| Destination Address | Copy the public address directly from your software wallet and paste it as the recipient. | Double-check every character of your public wallet address before confirming sending. |
| Execution & Arrival | Complete multi-factor security verification on the exchange and wait for blockchain confirmation. | Start with a small test transaction if transferring large amounts for the first time. |
-
Open your self-custodial software wallet (such as MetaMask or Phantom) and copy your public receiving address to your device clipboard. This public key is safe to share publicly and acts like an account number for your wallet.
-
Log into your centralized exchange account, navigate to the asset balance screen, and choose the option to withdraw or send funds.
-
Select the correct cryptocurrency network, paste your public wallet address into the destination recipient field, and carefully verify that every character matches.
-
Input the amount you wish to transfer, complete your account’s multi-factor security checks, and confirm the transaction output.
-
Wait for network confirmations to finalize; your updated balance will appear inside your self-custodial wallet within minutes.
Section 4: Choosing an NFT Marketplace
Popular NFT Marketplaces
Marketplaces serve as visual storefronts that index blockchain smart contracts, allowing users to mint, buy, sell, and trade digital assets seamlessly. Platform features, user audiences, and fee structures vary across the landscape.
| Marketplace | Primary Supported Chains | Target Audience & Specialty | Platform Royalty / Listing Fees |
| OpenSea | Ethereum, Polygon, Solana, Avalanche | All-purpose digital assets, collectibles, domain names, and broad consumer reach. | Variable platform service fee applied on successful sales. |
| Rarible | Ethereum, Polygon, Tezos, Immutable X | Decentralized community platform catering to independent artists and digital creators. | Custom fee arrangements with extensive multi-chain deployment options. |
| Magic Eden | Solana, Ethereum, Polygon, Bitcoin | High-throughput ecosystem specialized in digital collectibles and Web3 gaming items. | Competitive platform service fees tailored for high-volume traders. |
| Foundation | Ethereum | Curated, high-end digital art and exclusive 1-of-1 auctions for established creators. | Higher platform fee tier focused on premium visual art curation. |
| Mintable | Ethereum, Immutable X | Beginner-friendly interface offering low-friction, simple deployment pathways. | Tiered service structure including gasless minting alternatives. |
Creating an Account on Your Chosen Marketplace
Web3 platforms do not rely on traditional email and password registration systems. Instead, your digital wallet serves as your unified universal login credential.
-
Navigate to the official domain of your preferred NFT marketplace.
-
Click the Connect Wallet button located in the top navigation area of the website.
-
Select your installed wallet provider from the prompted pop-up list.
-
Your wallet application will open, requesting authorization to connect your public address to the site. Approve this signature request.
-
Once connected, complete your profile details by adding an optional username, custom bio, profile avatar, social media links, and contact email address for sales notifications.
Section 5: Minting Your NFT
Step-by-Step Minting Process
With your concept finalized, wallet funded, and marketplace account connected, you are ready to formally mint your asset directly onto the blockchain.
Step 1: Initialize the Asset Creation Interface
Click the Create button on your marketplace dashboard. You will be prompted to choose between creating a single, standalone item (1-of-1) or a structural collection containing multiple tokens.
Step 2: Upload Your Media File
Select and upload your optimized digital asset (image, video, audio, or 3D model) into the designated drag-and-drop area. Ensure the file conforms to the platform’s resolution and file size guidelines.
Step 3: Input Asset Metadata
Fill in the public descriptive fields that define your NFT’s on-chain identity:
-
Title: A clear, memorable title for your asset.
-
External Link: An optional URL pointing to your portfolio, personal website, or project landing page containing further context.
-
Description: A detailed narrative explaining the background, technical details, story, and value proposition of the piece.
-
Collection: Assign the asset to an existing collection or establish a brand-new collection contract container.
-
Properties, Levels, and Stats: Key-value pairs that categorize numerical or qualitative traits (such as background color, character clothing, or power ratings). These traits help buyers determine item rarity.
-
Unlockable Content: Exclusive private data—such as high-resolution download links, access codes to physical merchandise, or secret community links—that only the verified holder of the NFT can reveal.
Step 4: Define Supply and Creator Royalties
Specify the total supply count for the item (typically set to 1 for unique artworks) and set your desired creator royalty rate (commonly between 2.5% and 10%). This rate determines the percentage of all future secondary market sales automatically routed to your wallet.
Step 5: Execute the Mint Command
Click Create or Mint. Your wallet will prompt you to confirm a smart contract signature request, which formally processes the data and records your asset onto the blockchain ledger.
Understanding Gas Fees
Gas fees represent the computational payment given to network validators who maintain the underlying blockchain and process transactions. Gas costs fluctuate continually based on total network congestion and real-time computing demand.
When minting an asset, two primary methods exist for handling network costs:
-
Traditional On-Chain Minting: The creator pays network gas fees upfront at the moment of creation. The smart contract immediately writes the asset’s metadata onto the blockchain, finalizing its existence regardless of whether a sale occurs.
-
Lazy Minting (Gasless Minting): The creator defers on-chain deployment until a buyer actually purchases the item. The asset’s metadata is stored securely off-chain until the purchase point, at which time the buyer’s payment covers both the purchase price and the initial minting gas fee in a single unified transaction.
Tips for Minimizing Network Gas Fees:
-
Time your minting activity during off-peak network hours, such as late weekends or early mornings, when transaction traffic drops.
-
Adjust your wallet’s priority gas settings manually if you are willing to accept slightly slower confirmation speeds in exchange for lower costs.
-
Use scalable Layer-2 solutions like Polygon or alternative high-throughput networks like Solana or Tezos to keep fees negligible.
Section 6: Finalizing and Listing Your NFT
Confirming Your NFT Minting
After confirming the transaction through your wallet, wait for the blockchain network to process and validate your transaction block. Once confirmed, your newly minted token will appear directly inside your digital wallet balance and under your connected marketplace profile dashboard.
To verify your asset’s authenticity independently, locate the unique transaction hash generated during the minting operation. Paste this alphanumeric string into an open block explorer tool (such as Etherscan for Ethereum networks or Solscan for Solana networks). The block explorer displays immutable proof of your asset’s creation time, current holder address, token ID, smart contract address, and permanent IPFS metadata links.
Listing Your NFT for Sale
Minting an asset records it on the blockchain, but making it available for purchase requires creating a public marketplace listing.
-
Navigate to your profile, select the freshly minted asset, and click the Sell button to open the listing menu.
-
Select your preferred sales mechanism:
-
Fixed Price: Set a static purchase price. The asset instantly transfers to the first buyer who meets this price point.
-
Timed Auction: Set a minimum starting bid price and defined auction duration. The highest bidder at the end of the countdown wins the asset.
-
Declining Price (Dutch Auction): Set an initial higher price point that automatically drops incrementally over time until a buyer purchases the item or the reserve floor is reached.
-
-
Define the sales duration window (for example, 7 days, 1 month, or continuous until canceled).
-
Review the breakdown of platform service fees and royalties, then sign the listing authorization request using your digital wallet.
| Listing Format | Best Suited For | Key Advantage | Primary Risk / Trade-off |
| Fixed Price | Standard 1-of-1 artworks and large collectible sets. | Instant purchase clarity for buyers and predictable revenue. | Potential underpricing if demand unexpectedly surges. |
| Timed Auction | High-demand releases or unique items with strong interest. | Can trigger competitive bidding wars driving higher final prices. | Risk of low buyer turnout leading to lower-than-expected sales. |
| Dutch Auction | Premium rare assets or high-end experimental drops. | Automatically finds fair market equilibrium through price discovery. | Rapid price drops if initial buyer demand is weak. |
Promoting your listed asset actively across social channels, project newsletters, and creative forums helps attract interest from prospective collectors. Sharing behind-the-scenes creation processes, high-resolution visual previews, and explicit utility breakdowns builds consumer confidence and visibility.
Section 7: Post-Minting Considerations
NFT Ownership and Transfer
Understanding the clear distinction between token ownership and intellectual property (IP) rights is vital for creators and collectors alike. Purchasing an NFT transfers ownership of the underlying cryptographic token and its associated metadata record. However, unless the original creator explicitly includes written legal contracts transferring copyright, the creator retains the primary IP rights, including reproduction, commercial licensing, and distribution privileges.
Transferring an NFT from one wallet address to another is straightforward:
-
Open your marketplace profile or wallet app and locate the target asset.
-
Select the Transfer command option.
-
Paste the recipient’s validated public address into the destination field.
-
Confirm the on-chain transfer request and pay the necessary network validation fee to execute the movement.
Engaging with Your Community
Sustained interest in digital assets depends heavily on transparent communication and meaningful community engagement. Successful Web3 creators focus on building long-term relationships with their supporter base through dedicated channels:
-
Establish central communication hubs using community platforms like Discord or Telegram where collectors can interact directly with you.
-
Host regular live Q&A sessions, virtual studio tours, and audio broadcasts to share project updates and creative decisions.
-
Reward early supporters with exclusive physical prints, future collection allowlist allocations, or direct access privileges.
Keeping Track of Trends and Market Dynamics
Digital asset markets evolve rapidly based on technical developments, community preferences, and shifting macroeconomic factors. Staying informed requires active monitoring of market data aggregators, social discussion forums, analytics dashboards, and ecosystem reports. Tracking metrics such as floor price trends, unique holder distributions, and trading volume patterns helps you adapt pricing strategies, timing decisions, and project roadmaps effectively.
Final Thoughts
Recap of the Minting Process
Minting your own NFT transforms a simple digital file into a verifiable, secure, and tradeable asset on a global blockchain ledger. The process follows a clear sequence:
-
Conceptualize and produce high-quality digital artwork, audio, or utility assets.
-
Select an appropriate blockchain network based on performance, cost, and target community.
-
Configure a self-custodial software wallet, securely back up your seed phrase, and fund it with native cryptocurrency.
-
Connect your wallet to an established marketplace, upload your asset, and fill in complete metadata descriptions.
-
Execute the minting smart contract transaction, select your listing format, and publish your asset to the world.
Future of NFTs
The underlying technology powering NFTs extends far beyond simple digital art previews. As blockchain infrastructure matures, tokenization is transforming digital identity systems, intellectual property tracking, event ticketing, supply chain logistics, financial instruments, and real-world asset management. By mastering the fundamentals of digital asset creation today, creators gain valuable early experience navigating the digital ownership model that continues to reshape the internet economy.
Additional Resources
Links and References
Expand your understanding of decentralized platforms, smart contract coding, and Web3 digital standards through these educational resources:
-
Ethereum Developer Documentation: In-depth technical guides covering smart contract architectures, token standard frameworks, and EVM mechanics.
-
InterPlanetary File System (IPFS) Documentation: Guides explaining decentralized peer-to-peer storage models used to preserve NFT metadata permanently off-chain.
-
OpenSea Developer Docs: Technical tutorials explaining marketplace indexing protocols, custom smart contract integration, and royalty enforcement models.
-
Solana Cookbook: Conceptual guides and code snippets for building digital assets on high-performance networks.
Tools and Platforms
A list of essential creative applications, security utilities, and media production suites to support your digital asset creation workflow:
| Category | Recommended Tools | Primary Function |
| Graphic Design & Art | Adobe Photoshop, Illustrator, Procreate, Clip Studio Paint | 2D image creation, vector design, and digital painting. |
| 3D Modeling & Animation | Blender, Cinema 4D, Maya, ZBrush | 3D visual modeling, texturing, rendering, and motion design. |
| Audio Production | Ableton Live, Logic Pro, FL Studio, Pro Tools | Music composition, audio engineering, sound design, and mastering. |
| Generative Art Tools | HashLips Art Engine, Processing, p5.js | Programmatic trait combination generation and metadata compiling. |
| Metadata & Storage | Pinata, NFT.Storage, Arweave | Permanent decentralized media hosting and IPFS pinning services. |
Frequently Asked Questions (FAQ)
How much does it cost to mint your own NFT?
The cost to mint an NFT ranges from $0 to over $100, depending on the blockchain and time of day. On networks like Ethereum, initial minting gas fees can fluctuate based on network congestion. However, using layer-2 networks like Polygon or alternative chains like Solana reduces transaction fees to fractions of a cent. Alternatively, creators can use lazy minting on platforms like OpenSea, which defers the minting fee until the buyer purchases the asset.
Can I mint an NFT for free without paying gas fees?
Yes, you can mint an NFT for free using a process called lazy minting. Instead of writing your asset data to the blockchain immediately, lazy minting stores the item’s metadata off-chain. The actual token is minted on the blockchain only when a buyer purchases it, transferring the upfront gas fee to the buyer instead of the creator.
Do I own the copyright to an artwork if I buy or mint an NFT?
Minting or buying an NFT establishes proof of ownership for that specific cryptographic token on the blockchain, but it does not automatically grant intellectual property (IP) or copyright rights. Unless the creator explicitly attaches a legal agreement transferring full copyright to the buyer, the original artist retains all intellectual property and commercial licensing rights.
What is the difference between minting an NFT and listing an NFT for sale?
-
Minting is the process of writing your digital file’s data to the blockchain to generate a unique token ID.
-
Listing is the process of putting that already-minted token up for sale on an online marketplace (via a fixed price, timed auction, or declining price format).
Which crypto wallet is best for minting NFTs for beginners?
The best digital wallet depends on the blockchain network you choose:
-
MetaMask: The standard browser extension wallet for Ethereum, Polygon, and EVM-compatible networks.
-
Phantom: The primary software wallet optimized for Solana NFTs, offering high speeds and low transaction fees.
-
Coinbase Wallet: A self-custodial option that integrates smoothly for beginners entering the Web3 ecosystem.
What file formats and sizes can be turned into an NFT?
Most popular NFT marketplaces support standard digital visual, audio, and 3D media formats, including PNG, JPEG, GIF, SVG, MP4, WEBM, MP3, WAV, OGG, GLTF, and GLB. Most platforms cap file sizes at 100 MB for direct uploads; larger assets typically store preview files on-chain while linking to decentralized storage platforms like IPFS or Arweave for the master file.